
Getting started with Needlepoint
Getting started with Needlepoint
How to Get Started with Needlepoint: A Beginner's Guide
Needlepoint is a form of needlework that involves stitching yarn through a stiff, open weave canvas. This craft not only allows for artistic expression but also produces items that are both beautiful and functional, such as cushions, wall hangings, and even rugs. If you're interested in picking up needlepoint, this guide will take you through the basics, from choosing the right materials to completing your first project.
Understanding Needlepoint
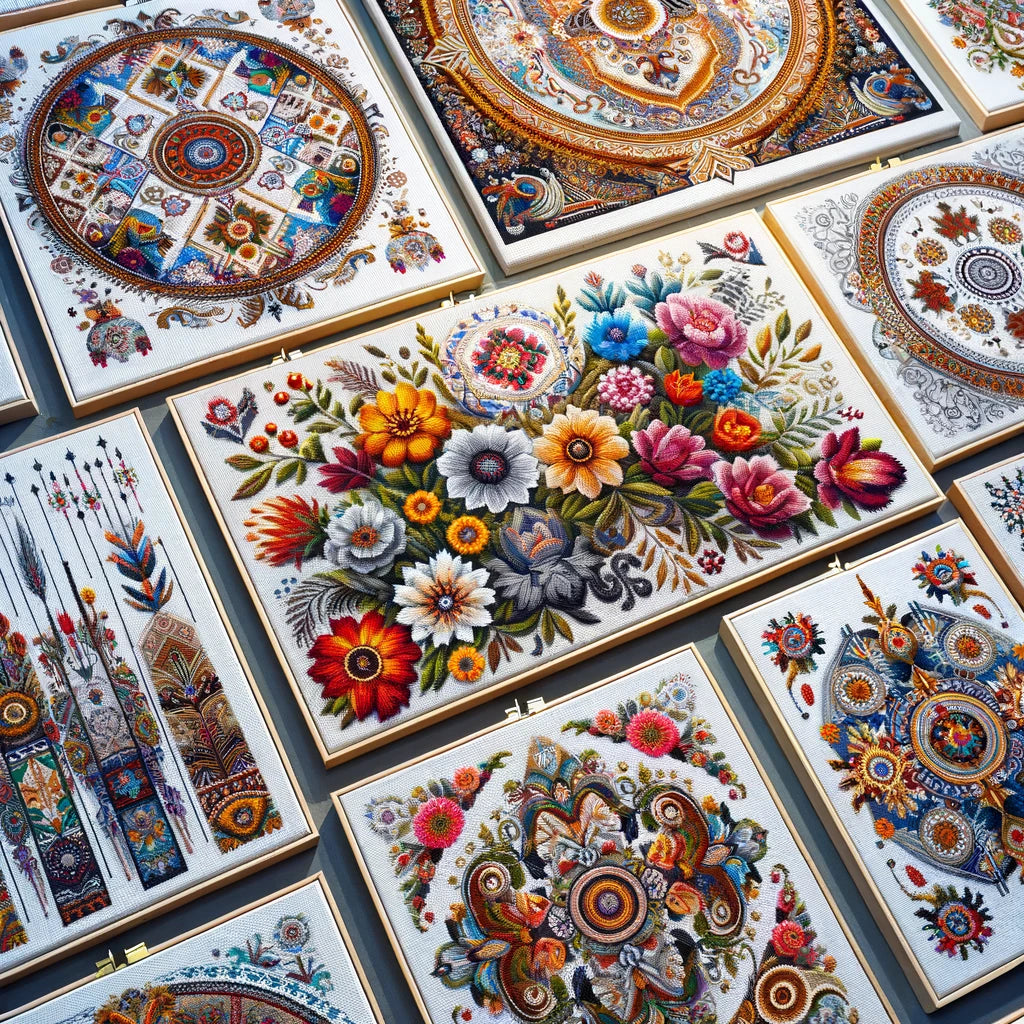
Needlepoint is a type of embroidery that covers the canvas's entire surface, creating a dense, embroidered effect. It is known for its durability and the variety of textures and patterns you can create, making it a popular choice for decorative home items.
Gather Your Supplies
Before you begin, you'll need to collect a few essential supplies:
- Canvas: Needlepoint canvas comes in various types, each suitable for different project sizes and complexities. The most common types are mono, interlock, and penelope.
- Yarn: Wool, cotton, and silk are the most commonly used yarns in needlepoint. Wool is durable and easy to work with, making it ideal for beginners.
- Needles: Tapestry needles are best for needlepoint because they have a blunt tip and a large eye, which makes them easy to thread without damaging the canvas.
- Scissors: A small, sharp pair of scissors will be needed for cutting yarn.
- Hoops and Frames (optional): While not necessary, many beginners find it helpful to use a hoop or frame to keep the canvas taut and easier to work with.
Choosing Your First Project
It’s important to start simple. Look for a kit designed for beginners; these often come with everything you need, including the canvas, which is usually stamped with a pattern, making it easier to follow along. Pick a small project like a coaster or a bookmark. These are not only quick to complete but also provide a satisfying sense of accomplishment that can motivate you to take on more projects.
Learning Basic Stitches
Needlepoint has just a few basic stitches, but mastering these can allow you to create a variety of textures and patterns. Start with these two fundamental stitches:
- Tent Stitch: This is the most basic needlepoint stitch, and there are three variations: the half-cross stitch, the continental stitch, and the basketweave stitch. The tent stitch is excellent for beginners because it is simple yet versatile.
- Basketweave Stitch: More durable than the basic tent stitch, the basketweave stitch is ideal for projects like pillows or footstools that require a sturdier fabric.
Reading a Pattern
Needlepoint patterns can be purchased as charts, which use symbols to show where each color and type of stitch goes. Learning to read these charts is crucial:
- Understand the legend: Each pattern comes with a legend that explains what each symbol on the chart represents.
- Start small: Begin stitching in the center of the canvas and work your way out. This method helps maintain the design’s symmetry and balance.
- Color coding: Make sure to match the yarn color to the corresponding symbol in the pattern.
Beginning Your Project
Embarking on your first needlepoint project is an exciting step. Here’s a detailed breakdown of how to get started, ensuring a smooth experience from your first stitch to the last.
Preparing Your Canvas
The right preparation can make a significant difference in needlepoint. If your canvas isn't already secured in a hoop or frame, now is the time to do it. Stretching the canvas helps prevent puckering and provides a stable surface that makes it easier to achieve consistent stitches.
-
Choosing the Right Frame: Depending on the size and type of your project, select an appropriate hoop or frame. Hoops are great for smaller projects and are easy to handle, while frames can be better for larger or long-term projects.
-
Mounting the Canvas: Center your canvas on the hoop or frame, then tighten it so that it is drum-like in its tautness. Ensure it's even to avoid any distortions in your work.
Starting to Stitch
Once your canvas is prepared, you can begin the actual stitching, which is where the fun really starts.
-
Choosing a Starting Point: Begin at the center of the design. This method helps in maintaining the design’s symmetry and balance as you expand your work outward.
-
Threading Your Needle: Cut about 18 inches of yarn and thread it through the needle, leaving a tail of about 3 inches. A shorter length of yarn helps prevent tangling and makes it easier to manage.
-
Securing the Yarn: Start by pulling the needle and yarn up through the back of the canvas, leaving a small tail on the underside. Secure this tail by stitching over it as you start your pattern. This will keep the back of your work neat and prevent the yarn from loosening.
Following the Pattern
Following a pattern correctly is crucial for achieving the desired outcome in needlepoint.
-
Reading the Chart: Refer to your pattern chart frequently. Each color and stitch type is typically indicated by specific symbols. Keeping your chart handy will help you avoid errors and ensure that you are using the correct thread colors and stitches.
-
Making the Stitches: Insert the needle from the back to the front at the starting point, following the type of stitch required by the pattern. Pull the thread through, then insert the needle back down as per the stitch instruction. Repeat this process following the pattern directions.
-
Managing Thread Colors: Change thread colors according to the pattern. To switch, finish the current thread by running it under a few completed stitches on the back of the canvas and cutting off any excess. Start the new color as you did the original, securing the end underneath existing stitches.
Tips for Effective Stitching
- Keep an Even Pace: Don’t rush your stitches; needlepoint is more about the process than speed. Taking your time can help ensure that your stitches are even and that the tension is consistent across the entire piece.
- Regularly Check Your Work: Periodically step back and look at your work from a distance. This can help you catch any errors early and maintain the pattern’s integrity.
By preparing properly, starting carefully, and following your pattern closely, you will set a strong foundation for your needlepoint project. As you become more comfortable with the basic process, you'll find it easier to tackle increasingly complex designs and enjoy more creative freedom in this rewarding craft.
Finishing Your Project
Once you’ve completed the stitching:
- Check for missed stitches: Fill in any gaps that you might have missed.
- Clean the canvas: Gently clean your work to remove any oils or dirt it might have picked up during the stitching process.
- Blocking: If your canvas has become distorted, you may need to block it. Wet it slightly, and then pin it on a board to dry flat and reshape it.
Where to Find Resources
As you grow in your needlepoint skills, you may want to explore more techniques and designs. Here are a few resources to help you on your journey:
- Local craft stores: These often offer classes and workshops.
- Online tutorials: Websites like YouTube have countless videos that cover every aspect of needlepoint.
- Needlepoint clubs: Joining a club can provide community support and motivation.
Conclusion
Needlepoint is a rewarding craft that allows you to create lasting works of art. Whether you enjoy following patterns or eventually design your own, needlepoint offers endless possibilities for personalization and creativity. With patience and practice, you can master this craft and enjoy its benefits for years to come. So, gather your materials, choose your first project, and start your journey into the world of needlepoint today.
Tutorials
These are a great introduction for needlepoint beginners just starting out!
